
We’re excited for this changing table to bring a touch of timeless elegance and practicality to our new baby’s nursery. Made from high-quality maple plywood, it’s a versatile and stylish addition that fits perfectly in any modern parent’s space. This sturdy platform not only ensures comfortable diaper changes but also provides convenient storage for all the essential baby items. Throughout this post, we’ll guide you through the design and process of creating our maple plywood changing table, showcasing its functionality and aesthetic charm tailored for our little one’s needs.
Overall Design
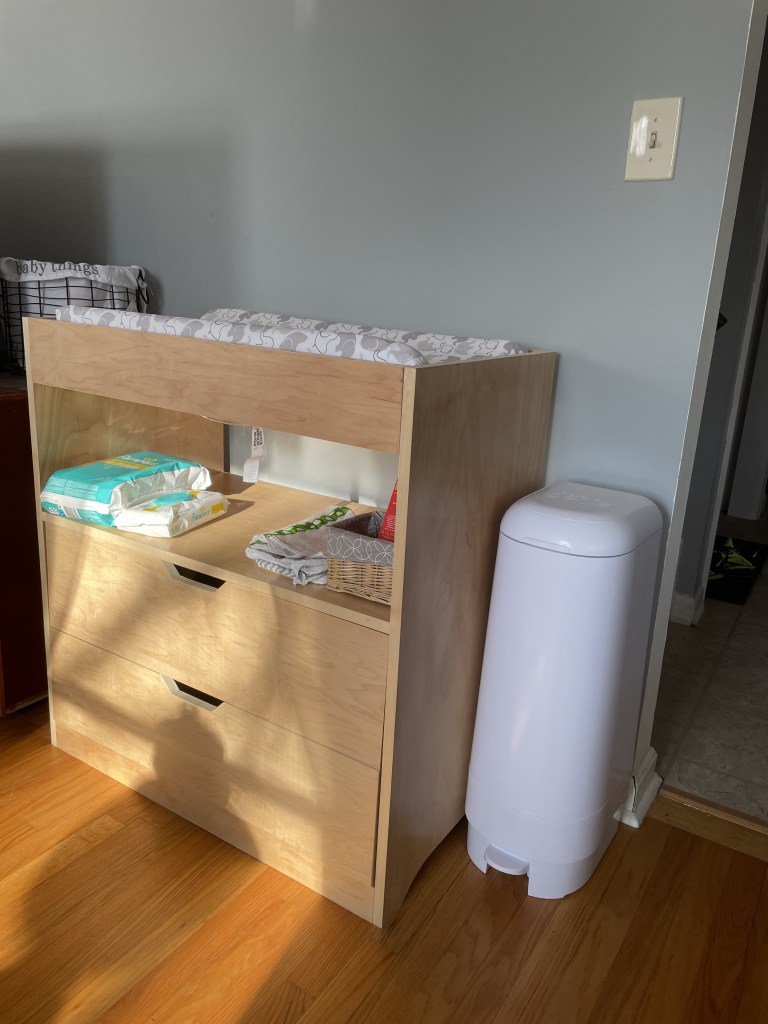
Pictured to the left (or above) is the maple plywood changing table complete with three drawers and a strategically placed shelf.
The design concept was meticulously crafted to prioritize functionality and convenience.
The prominent shelf is easily accessible and intended to house essential supplies such as diapers, wipes, and diaper cream, ensuring that everything needed for a smooth diaper change is within arm’s reach.
This thoughtful arrangement should help with organization and during diaper changes, allowing for a seamless and efficient process. We will see how this works..
The height of the changing pad was a real head-scratcher! We put our thinking caps on to ensure it’s not too high or too low but just right for those speedy diaper changes. While our initial measurements and musings hint at a perfect height, only time and a heap of diaper swaps will confirm if our ergonomic wizardry hit the mark!
In terms of construction, the changing table is predominantly crafted from 3/4″ maple plywood, utilizing approximately half a sheet of this durable and aesthetically pleasing material. The exception to this is the interior drawer, which features its own specific materials and construction techniques.
Drawer Design and Considerations
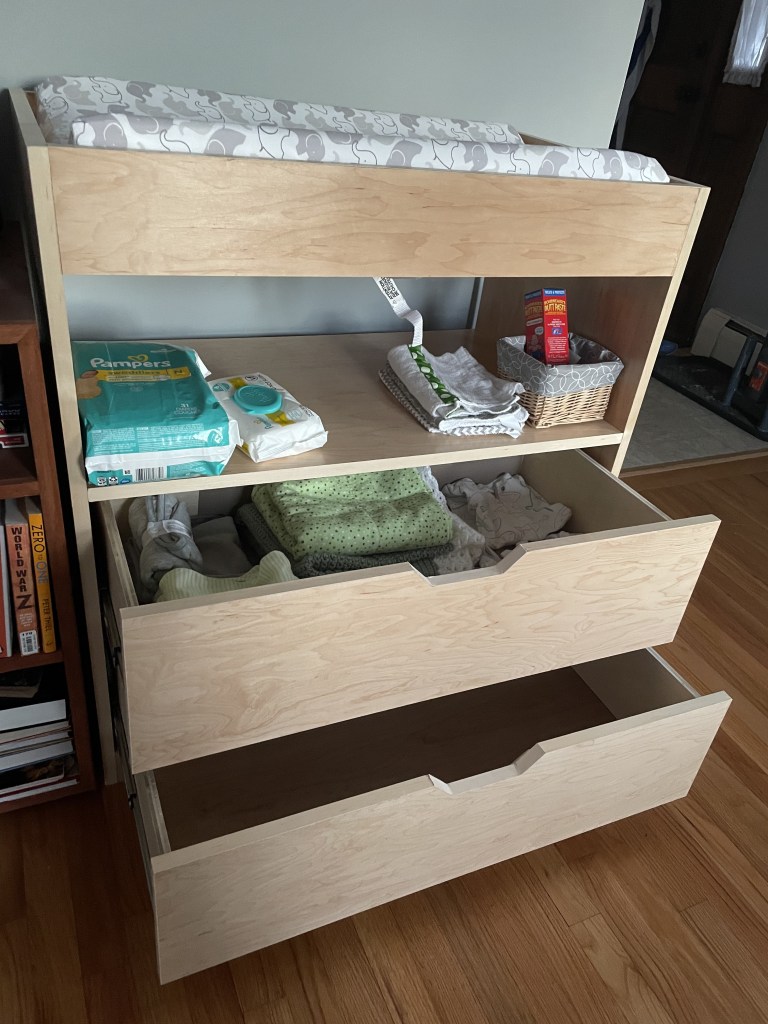
Delving into the storage features, the first drawer is designed to accommodate a change of clothes, burp cloths, and other necessary accessories, keeping them neatly organized and readily available. Moving on to the second drawer, its sole purpose is to store a stash of extra diapers, ensuring that a fresh supply is always within arm’s reach during those inevitable diaper emergencies. This strategic placement eliminates the need to scramble for diapers, allowing for a swift and stress-free diaper change experience.
We’d recommend incorporating slow-close drawer slides for added convenience and a touch of modernity. However, for the time being, the trusty regular drawer slides will get the job done without any fuss.
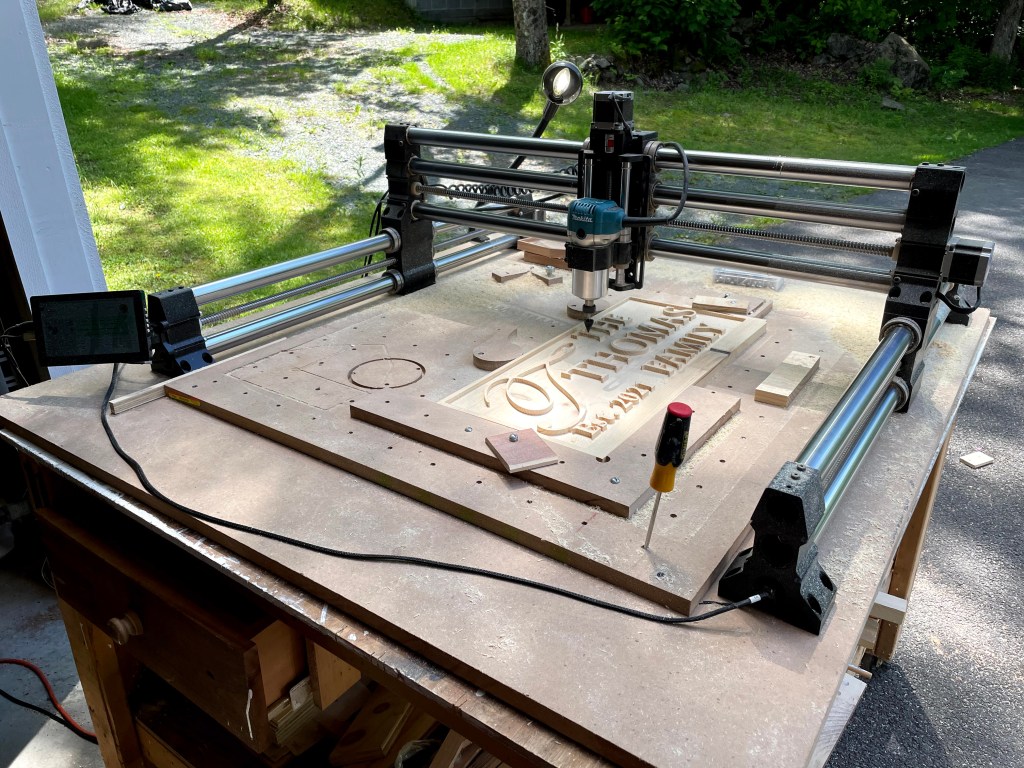
One of the highlights of our craftsmanship journey was creating a precise jig using our Onefinity CNC router. This jig was instrumental in crafting perfectly routed handle cutouts for the drawers, adding a sleek and seamless touch to the overall design. Opting for internal handles rather than external ones not only enhances the aesthetic appeal but also contributes to a streamlined and clutter-free look.
For the fabrication of the drawers, we employed the tried-and-tested quarter quarter quarter method, ensuring precision and consistency in every aspect of their construction. This meticulous approach reflects our dedication to detail and our commitment to delivering a high-quality and functional piece of furniture for our little one’s nursery.
Veneer Application and Assembly
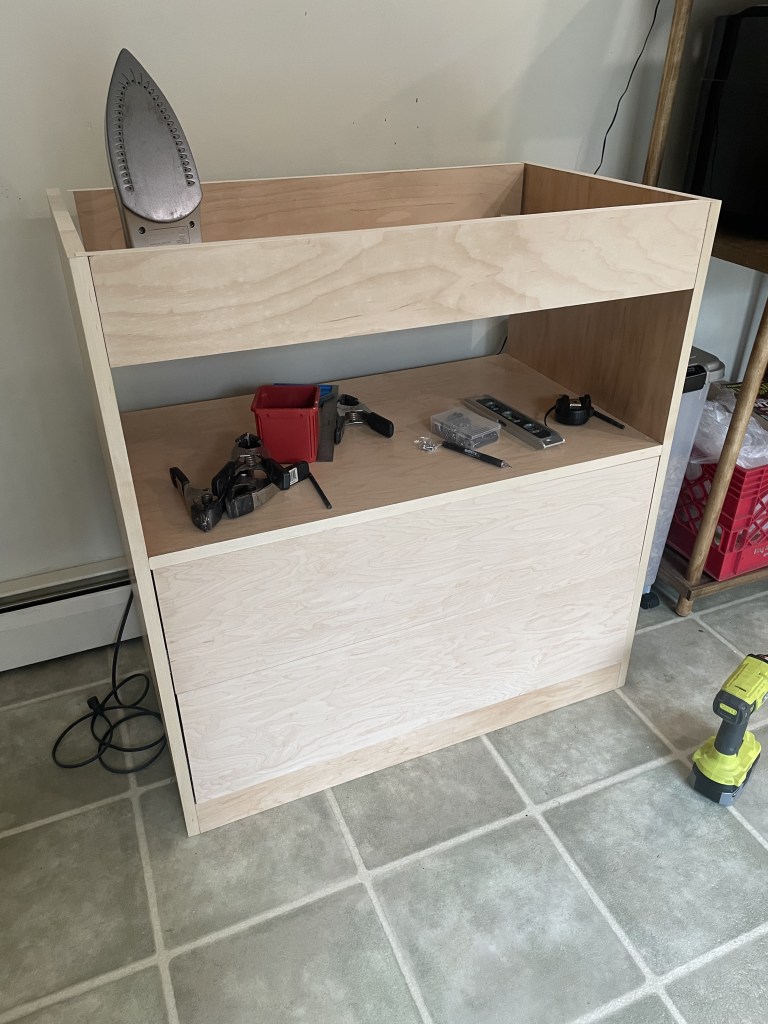
We upgraded the plywood’s appearance by adding maple veneer to each edge. It was our first time using it, and applying it with an iron was straightforward.
To keep everything aligned, we used parallel, We upgraded the plywood’s appearance by adding maple veneer to each edge. It was our first time using it, and applying it with an iron was straightforward.
Two of us worked together to ensure everything aligned perfectly, using parallel, bar, and 90-degree clamps during assembly with a Ryobi drill. Precise layout was crucial for a seamless look.
Computer Model and Design
We put effort into designing the changing table using Fusion 360. Planning hasn’t always been our strong suit, but this time it really paid off. Despite not having much CNC work involved, we decided to model it thoroughly, envisioning the two drawers and shelves exactly as we wanted them. This extra planning and design work proved to be beneficial in the final outcome.

Overall Cost
The project’s total cost was approximately $100, which covered expenses like one sheet of plywood costing around $50, $5 for veneer, and $40 for drawer slides. Although we bought these items individually and not in bulk, the overall cost was still reasonable. Compared to a store-bought changing table, our DIY version was a bit cheaper and offered the exact features we wanted, all while looking more appealing to us.


Leave a comment